Bathroom Light: Difference between revisions
No edit summary |
No edit summary |
||
| (6 intermediate revisions by 2 users not shown) | |||
| Line 1: | Line 1: | ||
{{Project | {{Project | ||
| | |Name=Bathroom Light | ||
| | |Skills=Soldering, Arduino, 3D Printing, Coding | ||
| | |Status=Dead | ||
| | |Niche=Electronics | ||
|Purpose=Infrastructure | |||
|Picture=Servo_Lightswitch.jpg | |||
|Tool=No | |||
}} | }} | ||
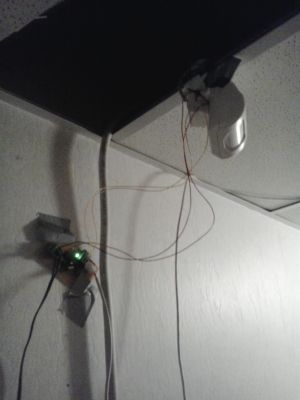
[[File:Bathroom_Board_and_Sensor.jpg|thumb|The finished board mounted on the wall.]] | [[File:Bathroom_Board_and_Sensor.jpg|thumb|The finished board mounted on the wall.]] | ||
Latest revision as of 23:34, 19 April 2017
| Bathroom Light | |
|---|---|
| Participants | User:petraea |
| Skills | Soldering, Arduino, 3D Printing, Coding |
| Status | Dead |
| Niche | Electronics |
| Purpose | Infrastructure |
| Tool | No |
| Location | |
| Cost | |
| Tool category | |
Servo_Lightswitch.jpg {{#if:No | [[Tool Owner::{{{ProjectParticipants}}} | }} {{#if:No | [[Tool Cost::{{{Cost}}} | }}
The bathroom light was commonly left on in the new space. This is ungreen, so a solution to this was desired. The following criteria were desired:
- No interference with the existing wiring
- No drilling in the walls
- Some means of reporting out the presence/absence of someone using the bathroom (for future expansion)
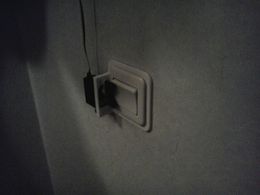
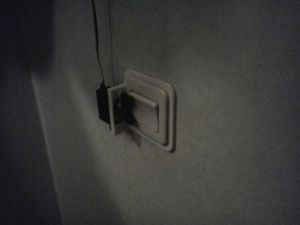
An old motion sensor was present already in the space, so with a bit of screwdriver work and an old wall-wart, a 12V supply for it was found. Also available was an unused servo. This presented the opportunity to place the servo over the light switch and allow for human override.
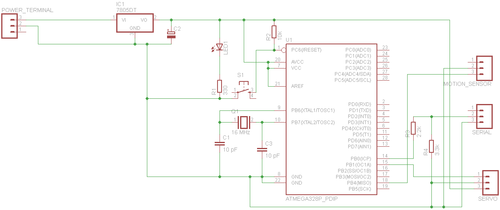
A protoboard arduino-clone was designed and developed and coded to turn off the light after 10 minutes of no activity. It was originally designed to output a serial line, however this seemed to cause the chip to become buggy, so a simple high signal is generated on motion detection. It is voltage divided down to allow for connection to a Raspberry Pi.
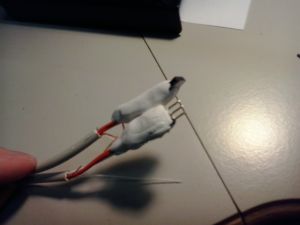
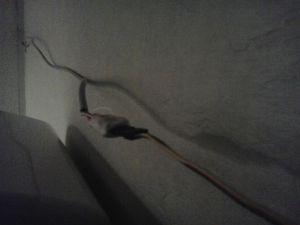
The board was to be positioned a long way from the switch, so a servo extension cable was bashed up using some Sugru to insulate the plugs neatly.
It might not be a good idea to do this yourself, but the low power use on the servo allowed this long cable to work fine here.
Development files (Arduino sketch, SCAD files, STL files, board layout) can be found here.
