Ultra Benchy: Difference between revisions
No edit summary |
|||
| Line 39: | Line 39: | ||
* 0.2 layer height | * 0.2 layer height | ||
* 0% infill | * 0% infill (if bridging gaps fails use some infill about 5 to 10%) | ||
* bottom / top layers 3 | * bottom / top layers 3 | ||
* outline / perimeter shells 3 | * outline / perimeter shells 3 | ||
Revision as of 21:01, 8 October 2018
| Ultra Benchy | |
|---|---|
| Participants | |
| Skills | 3D Printing |
| Status | Active |
| Niche | Artsy stuff |
| Purpose | Electronics, fun, world domination |
| Tool | No |
| Location | Nurdspace |
| Cost | |
| Tool category | General |
UltraBenchyPatchWork.png {{#if:No | [[Tool Owner::{{{ProjectParticipants}}} | }} {{#if:No | [[Tool Cost::{{{Cost}}} | }}
Ultra Benchy
As always a project starts with an awesome idea and coffee. r3boot and Pokon were thinking of a big print build as a fun project. Not just Ender 3 big, but properly big. And not just any model, the world famous 3DBenchy has been chosen as a target model.
Short story about Benchy: Benchy is a model modeld by Daniel Noreé for purpose to be a benchmark to test 3d printers (thats why the name benchy). From the webpage:
3DBenchy is designed to offer a large array of challenging geometrical features for 3D printers, and touch on different issues related to additive manufacturing. The 3D model is designed to print at 1:1 scale without support materials. It is challenging for most 3D printers but the small volume (15.55 cm3) typically prints in well under two hours and does not require much material. The different surfaces of the #3DBenchy model reveal typical issues regarding surface finish, model accuracy, warping, etc.
The project
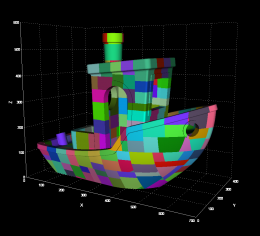
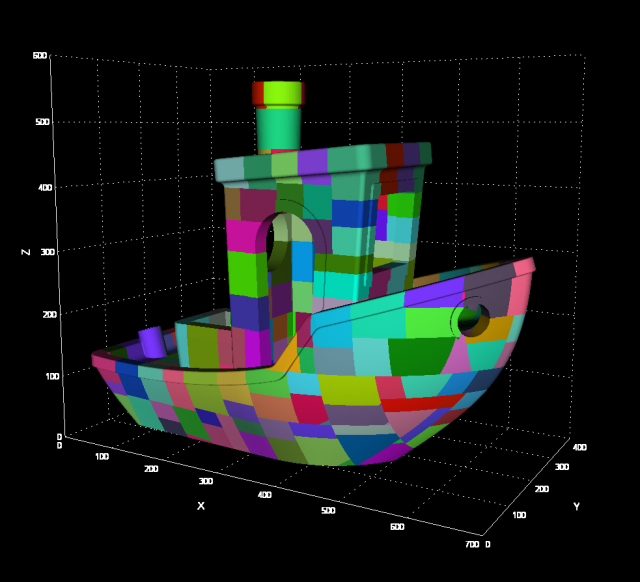
Since a normal benchy would not do for this project, we decided upon an arbitrary length of 700mm long, scaling up benchy to 1166.65% of it's original size. Since we dont have a printer which can handle such a scale, we used LuBan to slice up the scaled model of benchy into 319 individual STL's, all sized to fit in 80x80x80mm, so it would fit all our printers.
Goal is to have as much members as possible print as much of these STL's as possible, and once we have printed all parts, we can assemble a huge friggin' ass benchy. In order to streamline this process, we have setup a simple administration process. To register for one/more parts, follow the procedure below:
- Claim your parts on this spreadsheet.
- Under Date Claimed, fill in the date on which you claimed the parts.
- If possible, register the type of printer you will be using to print the part
- Once the part is printed:
- Mark the part with the part number and your nickname, on one of the sides containing hexagon shaped plugs (so it wont be visible on the outside)
- Get the part(s) to NURDspace, and add yes to the Printed column, so we can keep track of which parts are done.
Printing rules
In order to have a more or less equal quality of prints across the entire model, it is essential that we stick to more or less the same settings, so the following rules are required for printing these objects:
- 0.2 layer height
- 0% infill (if bridging gaps fails use some infill about 5 to 10%)
- bottom / top layers 3
- outline / perimeter shells 3
Gimme the STL
You can download all STL's for Ultra Benchy from this git repository.
Where to deliver the printed parts
In NURDspace, there is a transparent container with the label 'Ultra Bency printed on it. Open the container, and put your part in it.
Questions?
For any further questions, be sure to contact Pokon and r3boot, via the usual comms channels.

